Malt Extract 101: Key Reasons for Adding It to Your Brewing Toolkit
by Tim White July 28, 2025 · Food & Drink
Homebrewing your own beer might sound intimidating at first, but it doesn’t have to be. If you’re a beginner who wants to try brewing without investing in lots of equipment or diving deep into complex techniques, brewing with malt syrup and dry malt is the perfect place to start. It’s simple, affordable, and produces great results. The best part is that you don’t need any brewing experience.
What Is Malt Extract?
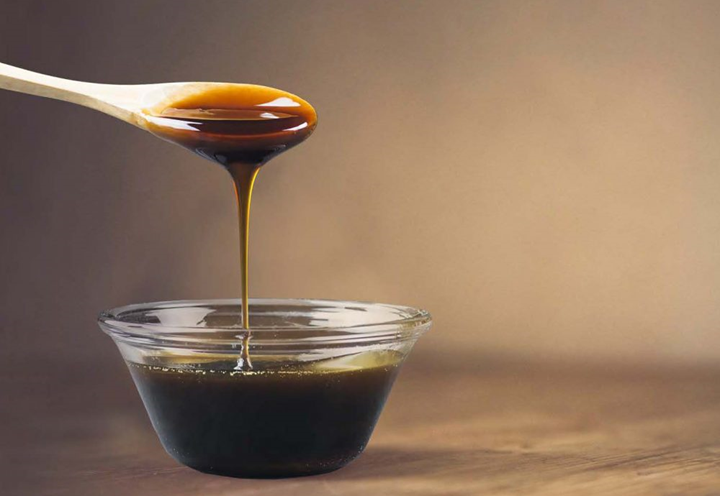
This is a concentrated syrup or powder made from malted barley. It’s made by mashing barley to extract the sugars. Then, it gets reduced to a thick syrup or dried and turned into powder. The syrup is also known as liquid malt or LME, and the dry version is known as dry malt or DME.
When you’re doing a traditional brew, you need to grind the malt yourself to extract those sugars. But when you buy a malt extract, you make the process simpler and easier because the task has already been done for you. That means you can skip the lengthy mashing process and focus on the fun parts such as boiling, fermenting, and, of course, drinking beer you’ve made.
Why Use It?
There are many great reasons to use this extract, which is why it’s a favourite among both beginners and seasoned brewers. When using high-quality, flavour boosting extract, things are much simpler. No more handling large amounts of grain and dealing with complex mash temperatures.
It’s also timesaving because it shortens the brewing days. Plus, you’ll need less equipment. You can do it with some basic kitchen gear and a fermentation bucket. Last but not least, you’ll get reliable results. Every outcome will be consistent and of good quality.
Liquid vs. Dry Extract
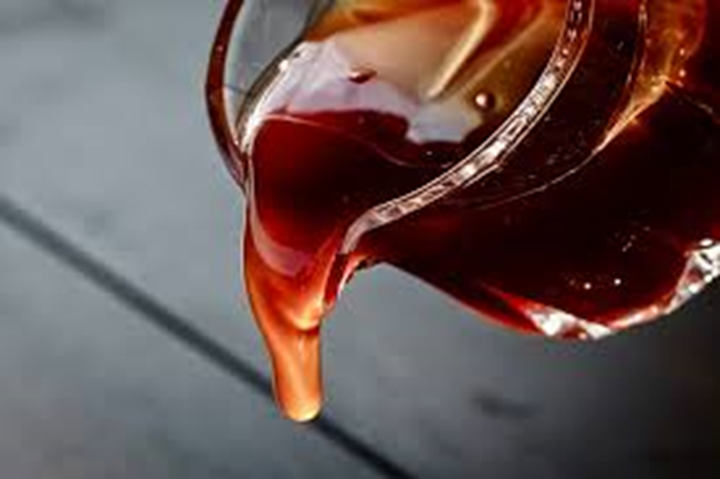
Both of these extracts work great for brewing. However, there are some small differences between them. The liquid (LME) extract is thick and sticky. It has a syrupy consistency, and it’s usually sold in tubes or cans. It’s easy to use, but some brewers find it messy to work with. Keep in mind that it also has a shorter shelf life.
The powder, or dry version of this extract (DME), is more concentrated than the liquid one by weight. It’s easy to store and dissolves quickly, but if you don’t handle it properly, it can clump over time. If you’re a beginner, it’s better to start with LME. Once you get the hang of it, you can try DME.
Ingredients and Equipment You Need
Brewing is not a very expensive hobby, and you don’t have to spend a fortune to do it. The ingredients list includes:
- Malt extract (LME or DME)
- Hops
- Yeast (dry or liquid)
- Water
Some brewers like to include steeping grains because they add another layer of flavour to the beer. They also use brewing sugar or priming sugar for bottling. When it comes to equipment, you’ll need:
- Large pot (at least 10 L)
- Fermenter with airlock
- Sanitiser
- Stirring spoon
- Thermometer
- Bottles and caps
- Bottle capper
- Hydrometer
If you don’t want to buy them separately, there are brewing kits available. They contain all of the essentials and the instructions on how to get started. These kits are practical for beginner brewers.
Brewing Process Explained
The first and most important step in the brewing process is to clean and sanitise your equipment. Anything that touches your beer after the boil needs to be properly sanitised to prevent contamination. This includes the fermenter, spoon, thermometer, airlock and many more. Always use a no-rinse sanitiser and follow the directions carefully.
The second step is to boil the wort. Fill your pot with a few litres of water and bring it to a near boil. Turn off the heat and slowly add your malt syrup while stirring. Once it’s fully dissolved, return it to the heat and bring it to a big boil. The mixture you get is called “wort”. You can add hops at different stages of the process. In the early stages, you can add some for bitterness, and in the later stages for aroma.
Be careful during the boil, as wort can foam up quickly. Keep an eye on it to prevent boilovers. Once the boil is done (usually after 30–60 minutes), you need to cool the wort down. The temperature should drop to around 18- 22°C. Then you can add the yeast. You can put the pot in an ice bath or use a wort chiller.
The next step is to transfer and ferment. Pour the cooled wort into your sanitised fermenter and top up with clean water to reach your target volume, which is usually around 20-23 litres. Stir it to aerate, and then add the yeast. Seal the fermenter with an airlock and store it in a cool and dark place. Keep the room temperature between 18-22°C. Fermentation should begin within 24 to 48 hours and typically takes 1 to 2 weeks to complete.
The final step is to bottle the beer. Once it’s fully fermented, add priming sugar to your bottling bucket to carbonate the beer. You can now transfer the contents into bottles. Find caps and bottles you like, fill them, cap them, and let them carbonate at room temperature for 1–2 weeks. After this, you’re ready to chill them and enjoy your own beer.
Tips for a Successful Brew
To avoid mistakes and have a good brew, always follow a recipe. This can be the one you have in the kit, or you can find some good ones online. Control the temperature and keep the fermentation steady. Otherwise, it can affect the beer’s flavour. Be patient and don’t rush. Take notes, track every step and write down what the beer’s taste was like. Also, take it slow. Don’t rush to do everything at once. It takes time to master this craft.
In Summary
Brewing beer with malt is a rewarding way to get into homebrewing. It takes away the complicated steps and lets you focus on the core experience. Once you’ve brewed a couple of batches, you’ll understand the process, build confidence, and maybe start experimenting. But for now, with just a pot, a bucket, and a little patience, you’re already on your way.