Countersink Bit: The Different Types and Selecting the Right One for Your Application
Countersink drill bits are essential tools for many woodworking, metalworking, and DIY projects. They are designed to create a conical hole that allows screws to sit flush with or below the surface of the material being worked on, providing a clean and professional finish. This article will delve into the different types of countersink drill bits, their uses, benefits, and tips for selecting the right one for your needs.
Types of Countersink Drill Bits
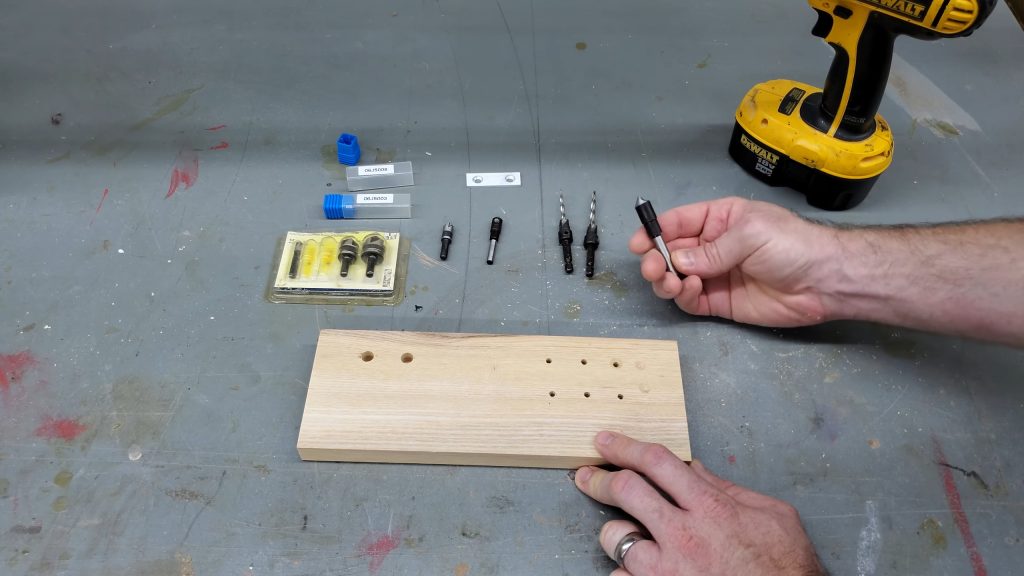
Standard Countersink Bits
Standard countersink bits are the most commonly used type. This type of countersink bit uses a conical tip that cuts a chamfer around the top of a pre-drilled hole. These bits are typically used for creating a recess for flat-head screws.
Common Uses:
- Woodworking projects
- Metalworking
- Plastic applications
Advantages:
- Simple and easy to use
- Available in various sizes and angles
- Suitable for a wide range of materials
Combined Drill and Countersink Bits
Combined drill and countersink bits are designed to drill the pilot hole and countersink in one step. These bits streamline the process by eliminating the need to switch between different drill bits, saving time and ensuring consistent results.
Common Uses:
- High-volume production work
- Furniture making
- Cabinetry
Advantages:
- Efficient and time-saving
- Ensures alignment between pilot hole and countersink
- Reduces the risk of material damage
Adjustable Countersink Bits
Adjustable countersink bits allow for customization of the depth and width of the countersink. These bits often come with a depth stop collar that can be set to a specific depth, making them versatile for different applications.
Common Uses:
- Projects requiring precise countersink depth
- Applications involving varying material thicknesses
- Professional woodworking
Advantages:
- Versatile and adjustable
- Provides precise control over countersink depth
- Suitable for multiple material types
Tapered Countersink Bits
Tapered countersink bits are designed to match the tapered shape of certain screws, such as wood screws. These bits create a pilot hole and countersink that match the screw’s profile, ensuring a snug and secure fit.
Common Uses:
- Woodworking
- Deck building
- Applications with tapered screws
Advantages:
- Ensures a perfect fit for tapered screws
- Reduces the risk of splitting wood
- Provides strong and secure screw joints
Three-Flute Countersink Bits
Three-flute countersink bits feature three cutting edges, which provide smoother and more efficient cutting action. These bits are ideal for materials that require a clean finish, such as hardwoods and metals.
Common Uses:
- Fine woodworking
- Metal fabrication
- High-precision applications
Advantages:
- Produces a cleaner and smoother finish
- Reduces chatter and vibration
- Efficient cutting action
Benefits of Using Countersink Drill Bits
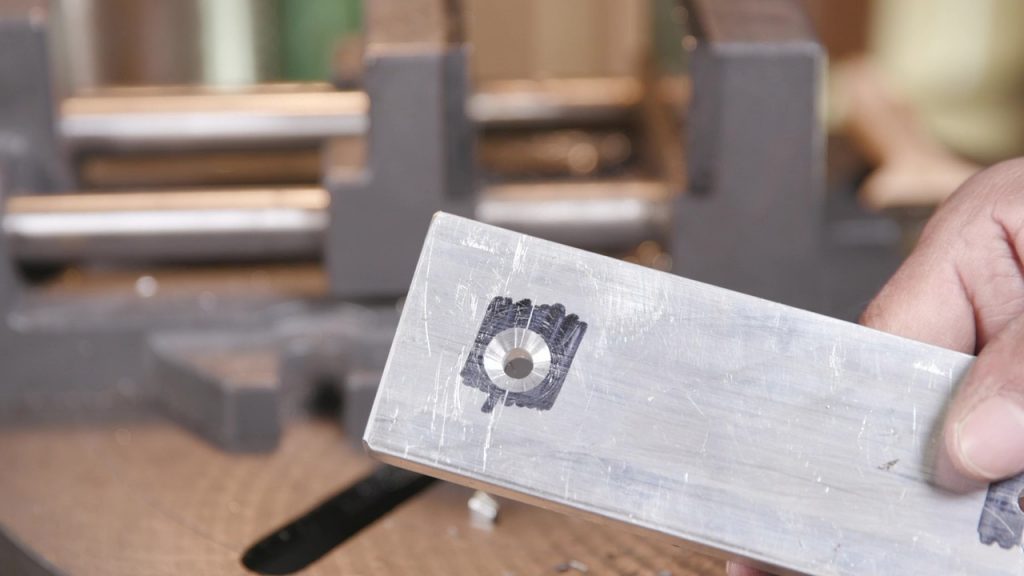
1. Enhanced Aesthetics
Countersink drill bits create a flush or recessed hole, allowing screws to sit level with or below the material surface. This results in a cleaner and more professional appearance, especially in visible areas such as cabinetry, furniture, and flooring.
2. Improved Structural Integrity
By countersinking screws, you reduce the risk of material splitting, particularly in wood. This ensures a stronger and more durable joint, which is crucial in structural applications and load-bearing projects.
3. Increased Screw Holding Power
Countersunk screws have more surface area in contact with the material, providing better grip and holding power. This is especially important in applications where the screw’s ability to hold under stress is critical.
4. Reduced Risk of Damage
Using countersink drill bits minimizes the risk of damaging the material surface. Without countersinking, screw heads can tear or chip the material, compromising both the aesthetics and structural integrity.
Tips for Selecting the Right Countersink Drill Bit
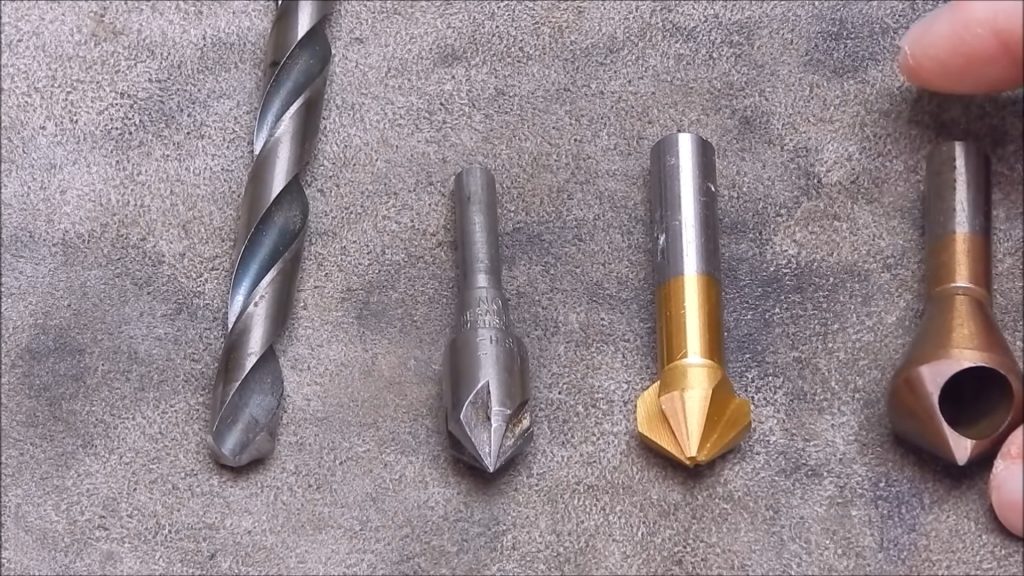
1. Consider the Material
Different materials require different types of countersink bits. For wood, standard or tapered countersink bits are ideal. For metal, three-flute or high-speed steel bits are more suitable. Always choose a bit designed for the material you’re working with to ensure optimal performance and longevity.
2. Match the Screw Type
Ensure that the countersink bit matches the type and size of screw you’re using. Tapered bits are best for tapered screws, while standard bits work well with flat-head screws. Combined drill and countersink bits are excellent for ensuring perfect alignment between the pilot hole and countersink.
3. Choose the Right Angle
Countersink bits come in various angles, typically ranging from 60 to 90 degrees. The most common angle for woodworking and general applications is 82 degrees. However, for specific applications, such as metalworking or certain types of screws, you might need a different angle.
4. Look for Quality
Invest in high-quality countersink bits made from durable materials like high-speed steel or carbide. Quality bits will last longer, provide cleaner cuts, and reduce the risk of damage to your workpiece.
5. Consider Adjustable Options
For projects that require varying countersink depths, consider adjustable countersink bits. These bits provide versatility and precision, allowing you to customize the countersink to your exact needs.
Best Practices for Using Countersink Drill Bits
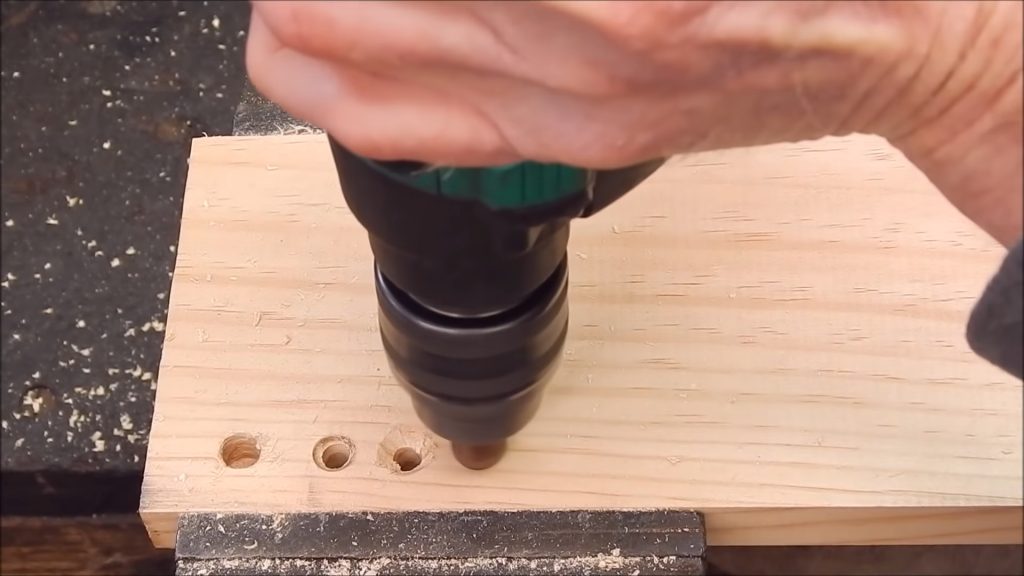
1. Pre-Drill the Pilot Hole
Always pre-drill a pilot hole before using a countersink bit. This helps guide the bit and reduces the risk of splitting the material. Combined drill and countersink bits simplify this process by performing both tasks simultaneously.
2. Use the Right Speed
Adjust your drill’s speed based on the material you’re working with. For softer materials like wood, a higher speed is generally suitable. For harder materials like metal, use a lower speed to prevent overheating and ensure clean cuts.
3. Apply Steady Pressure
Maintain steady and even pressure while drilling. Avoid forcing the bit, as this can lead to uneven cuts and potential damage to the material or the bit itself.
4. Keep the Bit Clean
Regularly clean your countersink bits to remove debris and buildup. This ensures smooth operation and extends the life of the bit. A quick wipe with a cloth and occasional sharpening will keep your bits in top condition.
5. Check for Sharpness
Dull countersink bits can cause chipping and rough finishes. Regularly check your bits for sharpness and replace or sharpen them as needed. Sharp bits provide cleaner cuts and make the drilling process more efficient.
Conclusion
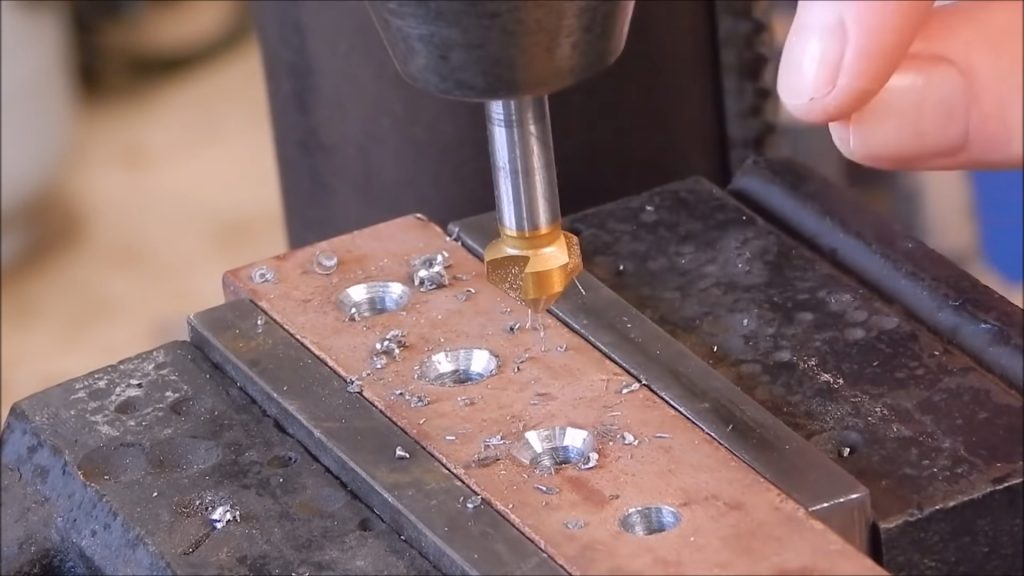
Countersink drill bits are versatile and invaluable tools for any DIY enthusiast, woodworker, or metalworker. By understanding the different types of countersink bits and their specific uses, you can choose the right bit for your project, ensuring a professional and durable finish. Whether you’re building furniture, crafting fine woodwork, or working on metal fabrication, the right countersink drill bit can make all the difference in the quality and longevity of your work. Invest in high-quality bits, follow best practices, and enjoy the enhanced aesthetics, improved structural integrity, and increased efficiency that countersink drill bits provide.
